Getting Started with trezor.io/Start: A Complete Guide
Navigating the world of cryptocurrency can feel like stepping into a vast, unfamiliar city. Wallets, keys, exchanges — it’s easy to get lost. That’s where trezor.io/Start comes in. This official Trezor page is your first stop for safely initializing your hardware wallet, securing your crypto, and confidently managing your digital assets.
In this guide, we’ll explore trezor.io/Start from scratch, starting with the basics for beginners and moving into more advanced considerations. You’ll understand not only how to set up your Trezor device but also why each step matters.
What Makes trezor.io/Start Essential?
At first glance, trezor.io/Start might look like a simple download page. But it’s actually a carefully designed onboarding system that:
- Directs you to download the correct version of Trezor Suite for your operating system.
- Ensures your device firmware is authentic and up to date.
- Guides you through generating or recovering a secure wallet.
- Provides instructions for PIN and optional passphrase setup.
- Educates you on best practices to prevent loss or theft of crypto assets.
Think of it as a safety net: every action you take on this page is verified and designed to reduce the risk of human error, malware, or phishing attacks.
Step-by-Step Setup on trezor.io/Start
1. Unboxing and Inspecting Your Device
Your Trezor device comes in a sealed package. Inspect it carefully. Tampered seals or unusual markings are a red flag.
Example: When you open your Trezor Model T, ensure the holographic seal is intact and the box isn’t damaged.
2. Connecting and Downloading Trezor Suite
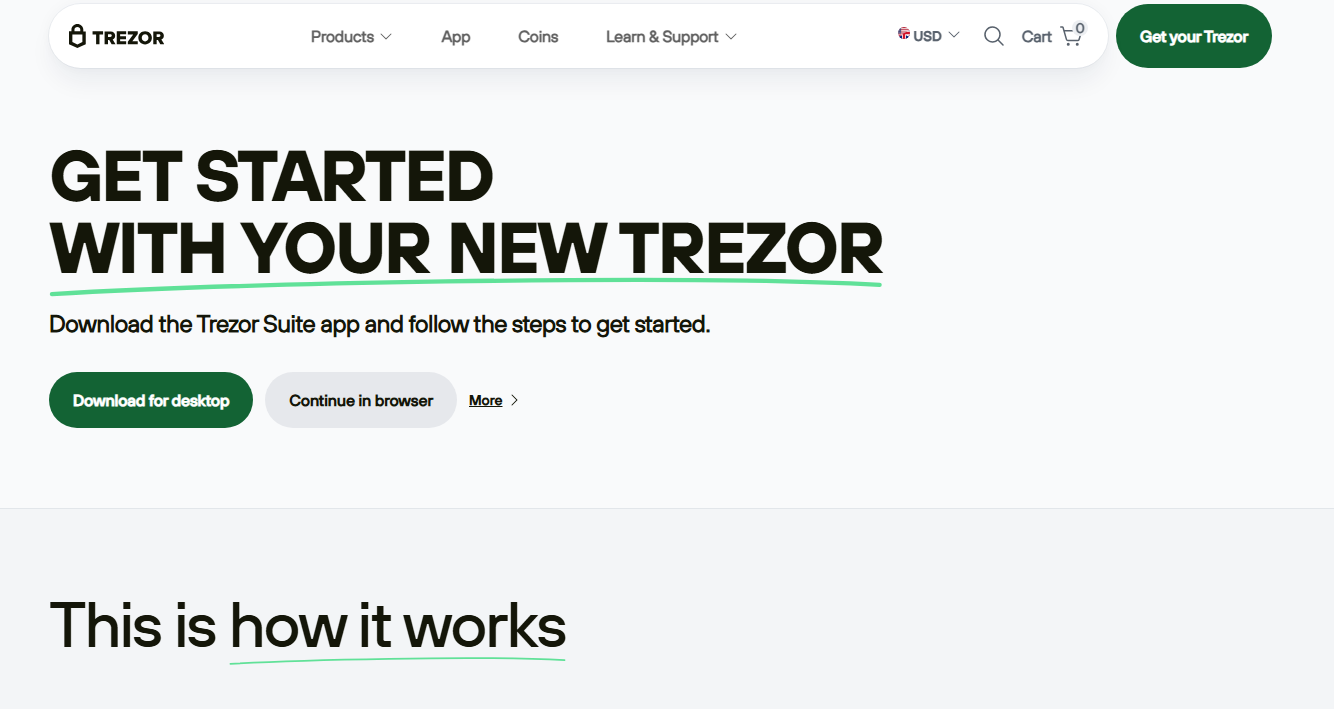
Connect your device to your computer using the original USB cable. Open a browser and navigate to trezor.io/Start. The page will detect your operating system and guide you to download the official Trezor Suite.
Desktop Suite offers full features, while the web version is convenient for quick access. Regardless of the choice, the software is verified and secure.
3. Installing Firmware
If your device is new or outdated, the setup will prompt a firmware installation. This ensures your Trezor is running the latest secure version. Confirm the installation on the device itself — a crucial step for integrity verification.
4. Creating or Recovering Your Wallet
You can choose to create a new wallet or recover an existing one. A new wallet generates a recovery seed — 12 or 24 words — displayed only on your Trezor screen. Write it down carefully offline.
Tip: Do not store the seed digitally. Screenshots, cloud storage, or photos increase the risk of theft.
5. Setting a PIN and Optional Passphrase
A PIN protects your device from unauthorized access. Every time you connect your Trezor, you’ll enter the PIN directly on the device.
An optional passphrase adds a hidden wallet layer. This extra security measure means that even if someone discovers your seed, they cannot access funds without the passphrase.
6. Activating Coins and Starting Transactions
Once setup is complete, you can enable your preferred cryptocurrencies within Trezor Suite. Transactions require on-device confirmation, keeping your private keys safe from potential computer malware.
Why Each Step Matters
Seed Phrase Security
Your recovery seed is the master key to your crypto. Losing it or exposing it digitally can lead to irreversible loss. Displaying it only on the device and requiring manual recording ensures maximum security.
Firmware Verification
Firmware is cryptographically signed. The setup process verifies authenticity, preventing malicious code from compromising your device.
On-Device Transaction Approval
Confirming transactions on the device, rather than the computer, protects against malware that might attempt to alter transaction details.
Optional Passphrase for Hidden Wallets
Passphrases allow multiple wallets from the same device and seed, adding a layer of deniability and security.
Intermediate Tips for Secure Usage
Shamir Backup for Extra Security
Advanced users can use Shamir Secret Sharing to split the recovery seed into multiple shares. Distributing these shares among secure locations increases security without relying on a single backup.
View-Only Mode
Trezor allows watch-only wallets by importing public keys. You can monitor balances without risking private key exposure.
Multi-Signature Wallets
For high-value holdings, multi-signature wallets requiring multiple devices to approve transactions provide additional safety.
Testing Transactions
Sending small test amounts first helps confirm addresses and transaction behavior before committing larger sums.
Phishing Awareness
Always verify URLs, use bookmarks, and avoid fake pages mimicking trezor.io/Start.
FAQ: trezor.io/Start
Q1: Can I use trezor.io/Start on public computers?
It’s safest to use a trusted, personal computer to avoid potential malware or keyloggers.
Q2: What if I lose my recovery seed?
Without the seed, your wallet cannot be restored. Always write it down carefully and store it securely offline.
Q3: Do I need the passphrase?
Passphrase is optional. It provides extra security but must be remembered — losing it means losing access to that wallet.
Q4: Can I recover a wallet from another device?
Yes, by choosing “Recover wallet” and entering the correct seed phrase (and passphrase if used), you can restore your wallet on a new Trezor.
Q5: How often should I update firmware?
Always update whenever prompted by the official Trezor Suite or website. Updates patch vulnerabilities and improve security features.